Battleshed Diaries

Friday, 27 June 2014

Audacious moves

The Khador pulled off an audacious move last night which involved a Slam attack, collateral damage and a knock-down for the Cygnar boss followed up by withering combined fire from the Khador Widowmakers, sending the Cygnar home for an early bath!

Thursday, 26 June 2014

The Teenager

The Teenager joined me in the Battleshed this evening for a quick refresher game of Warmachine before Sam dusts off his Cryx force tomorrow night ;)


Wednesday, 11 June 2014

Dead Man's Hand: A town called Obsession

Dead Man's Hand Terrain Board Project - ready to game!

Friday night will see the inaugural game on my 'officially' completed DMH terrain board project. All four boards are now ready to be put together to form the town of Obsession. There's still a myriad of tweaks, fixes, enhancements still to be done, but at long last, I can finally say it is 'ready to game!


Saturday, 31 May 2014

The Force was strong with the Dark side tonight!


The first flight of my shiny new GR75 (and 'Epic' rules) -  and it took a bit of handling! As this was more of an experimental game, I quickly picked the escort ships (two A-Wing, one Y-Wing plus a support HWK). The scenario, the Evacuation of Hoth,  had the Rebels attempting to transit a pre-deployed Imperial minefield, with each mine having different effects. 

Cut a long story short, I was so wrapped up in learning the numerous new rules and manoeuvring techniques, (plus two A- Wings firing a barrage of assault missiles and failing), that I forgot the Transport had a 'combat retrofit' and had extra shields and hull! My opponent,  Darth Sam of the Hobbyshed, was thankfully patient!


Saturday, 17 May 2014

Three makes a crowd in Obsession

This morning over at Livingston Battleground, I brought along my DMH boards 1 & 2 for a shootout with Ian's gang.

John decided he'd like to get in on the action, so a three-way game ensued. Unusually, my Lawmen weren't the sandwich filler on this occasion, which is my normal position in three-way games and, even more remarkably, my Lawmen were victorious, ridding the town of the ne'er-do-wells without taking any casualties!

Always an excellent, fun game, with much card-playing skulduggery and cinematic shenanigans :)

Advanced skirmish

Friday evening saw the regular Battleshed sessions resume, kicking off with some casual X-Wing action. Always an easy play and fun option after a wee gaming hiatus. As usual, I opted for the Rebels, using two X-Wings, a B-Wing and the HWK-290. Sam had the Dark Side, fielding the Advanced Tie, one of my newly acquired Imperial Aces and a regular Tie.

It was all going nicely for the Rebels, until they lost all their ships! Somehow they managed to lose even with the greater number of ships and a tooled-up B-Wing! The Imperials left the battle with two ships still operational.


Saturday, 29 March 2014

SAGA: AAR - I cannae' swim , Chief!


The saga continues...

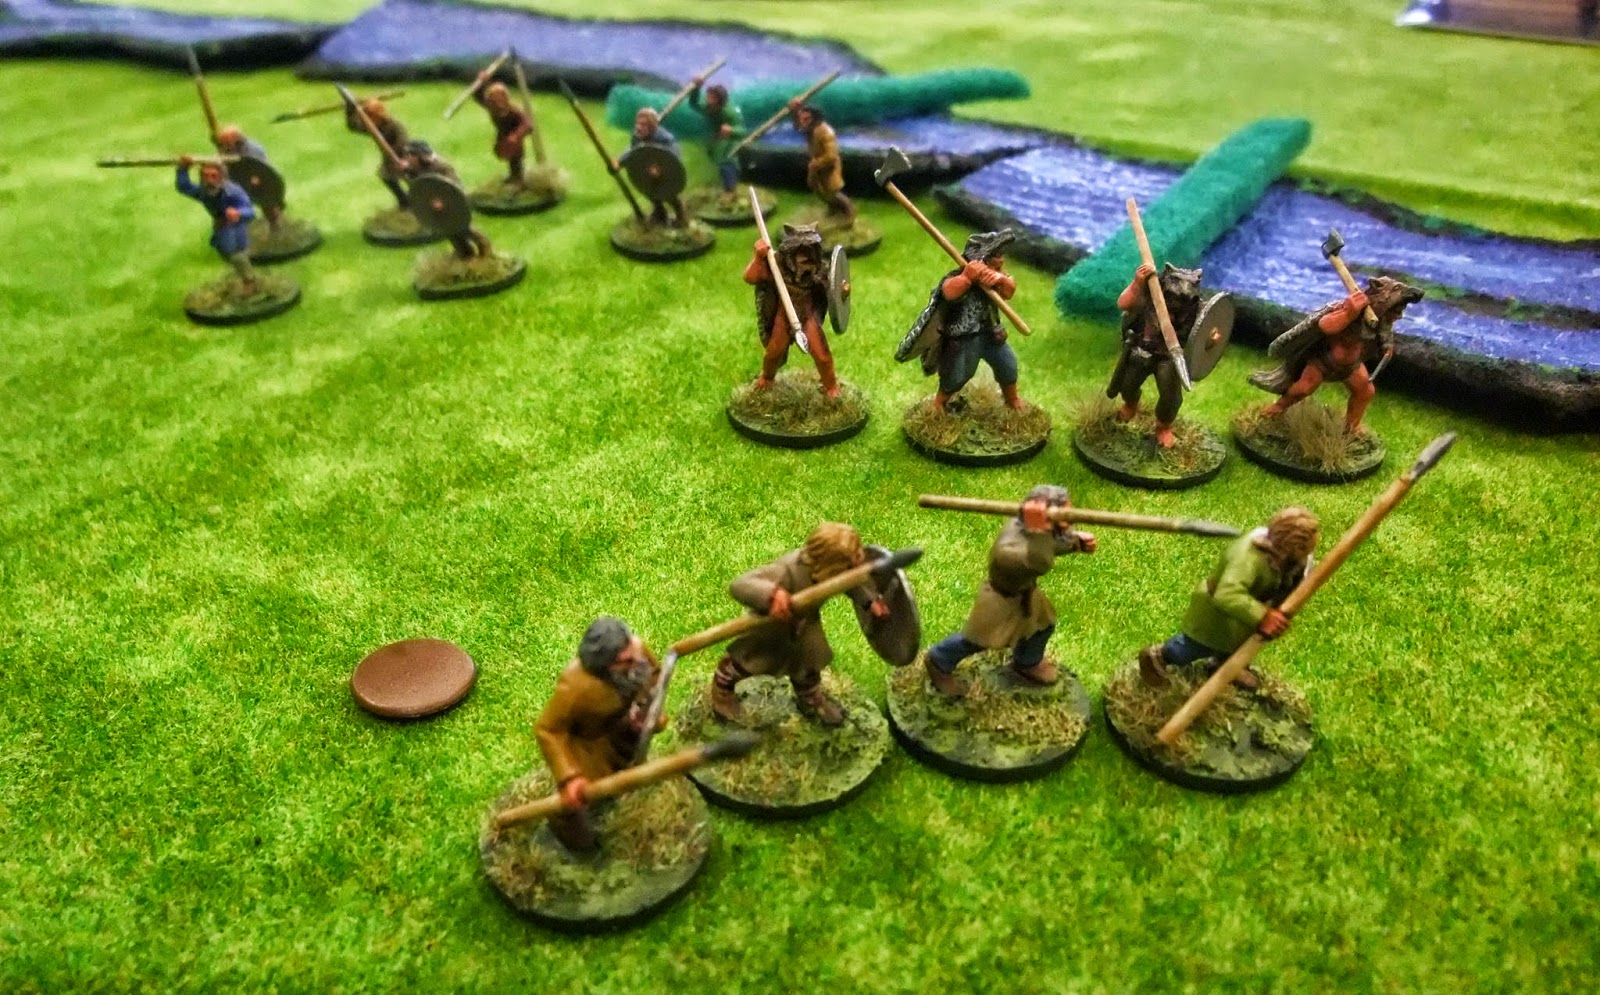
Today's game over at Livingston Battleground saw the Scots and Vikings attempting to cross a river, by way of two fords, to control the lands on the other-side.

The Scots got the initiative roll and deployed half their units first; the Vikings then deployed all their forces with the Viking warlord and multiple hearth-guard units concentrating strength on one ford and their remaining warriors and berserkers lining up for a foray on the other.

The Scots fielded their newly formed levy archers, positioning them between the two fords to provide supporting fire and, maximizing their ranged ability, lined up a large group of levy javelins along with a strong mounted hearth-guard unit to take the ford opposed by the Viking warriors and berserkers. Scots warriors and a smaller hearth-guard unit positioned at the other ford.

The Scots mounted hearth-guards quickly took advantage of their long movement and activated twice to cross the ford and head deep into the Viking flank in turn one. This manoeuvre set the narrative as this powerful cavalry unit initially drew some Viking warriors away from the nearest ford to attempt an intercept but the canny cavalry then dodged them and made a long run straight along the rear of the Viking lines to bear down on the Viking warlord at the other ford!

It was clear that the Scots, still smarting from the surprise attack on their warlord in the final turn of the last battle, wanted to restore honour and were out to deliver a similar fate to the Viking boss! The trap was sprung and the Viking war boss and his faithful hearth-guard found themselves funnelled into the tight confines of the ford with Scots warriors and archers to the fore and heavy cavalry at their backs!

However, the Vikings did manage to get most of their warriors and berserkers across the other ford, as they only had the Scots javelin levy opposing the crossing once the Scots cavalry had moved away. The javelins let them come on, firing off volleys as they manoeuvred to keep their distance from the Viking marauders, knowing the devastation they would unleash if they got into melee.

On the last turn, the courageous Viking war boss finally succumbed to the numerous Scots spears, although the Vikings did have slightly more VPs with their warriors and berserkers over the river - the Scots failed to get a crucial saga dice roll to activate the javelin levy poised to attempt the thin the ranks of the weak-armoured berserkers!

Another draw, and another superb game!


Saturday, 22 March 2014

SAGA: AAR - Chin Rubbing

Yet another clash between the Scots and Vikings today at Livingston Battleground. I thoroughly enjoyed this one; I think Ian and I are now getting fully to grips with Saga rules to the point where we're both concentrating on our 'Battle boards', planning our strategy and tactics, as it should be.

Today's game saw us both deep in thought with much chin-rubbing! The scenario has pretty simple - take and hold the hill in the centre marked with the Celtic cross.

I used two small mounted Hearthguard units, followed up by a large unit of warriors with a war banner to quickly take the hill; there followed a lot of tactical maneuvering and probing and clashes along the lines with the hill changing hands a number of times. By the end, both sides were considerably reduced, with two battered Scots units still on the hill.

But in a shock last ditch charge, those bloody Viking Berserkers, who spent much of the game lurking in the woods, made a charge on the fatigued Scots War Boss, who had only just repelled another unit of Viking warriors on his other flank! The Scots War Boss put up a brave fight but succumbed to the frenzied attacks from the berserkers. Since time was up and the Scots had a relatively strong position on the hill, we called it a draw!

Damn good game and up for more next week!